
-scissors- -point- -thumb over shoulder-
SO you've picked out your pattern and you got all the pieces from the tissue and now comes the exciting part: cutting all those pieces out of your fabric. There is a guide in the instructions that I normally follow pretty loosely.
 We are making view E the white pictures of the peices are the ones you cut face-up and the dark ones are the ones you cut face-down.
The selvedges are the finished edges of the fabric, not the side that has been cut at the fabric store. Once you find your selvedges match them up and fold the fabric. The next step is to iron all of your fabric with these selvedges together. Say good-bye to the right side of your fabric because it'll be a while before you see it again!


I also like to run an iron over the patter pieces to make the lines clean. The left piece has been ironed and the right hasn't been.


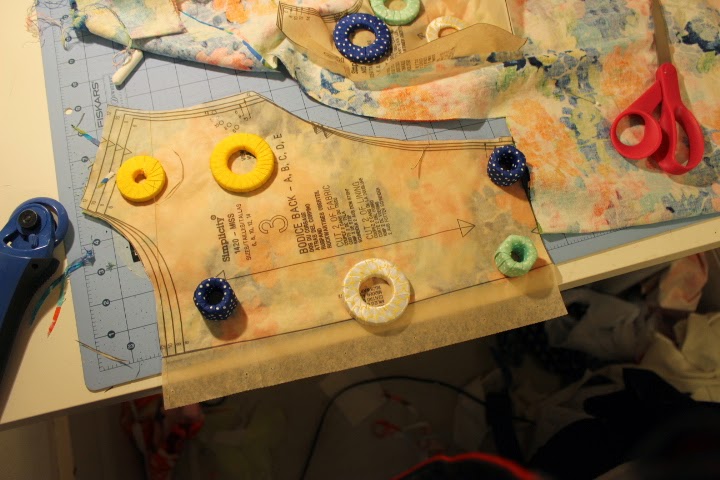
Lay out your pattern pieces with the weights dispersed so that it doesn't move around on the fabric.
And start cutting!

Hold the pattern down with your fingers spread out wide and follow the line of the pattern piece, watch your fingers, this blade is sharp!


The chalk didn't quite cut it so I used a fabric marker that disappears over time or when it is wet. You can find these at most fabric stores.
This piece was one of the darker colored pieces on the guide so I wanted to add it so you could see that you cut it just like the other ones but with the right side down.

It gets pretty tedious so some entertainment is necessary, my show of choice? Yeah, the Bold & the Beautiful, deal with it. Throw on some music and your fabric will be cut in no time!


Now that the fabric is all cut out keep the pattern pieces pinned to them so that you can check out any missed marks or lines you may have missed and start sewing! Don't be scared the instructions are very clear, if you do run into something that doesn't make sense just youtube it! Seriously, it will show you almost every step you will need. Check back tomorrow for the big reveal!
No comments:
Post a Comment